3D printing workflow
Is Meshy AI Good for 3D Printing?
Meshy can shorten the distance between an idea and a printable starting mesh, but successful prints still depend on geometry checks, scale, supports, and slicing. Use this guide to place it sensibly in your pipeline.

Choose your route
Your existing 3D printing pipeline
The best starting point depends on what you already have: a written idea, a reference image, or a rough mesh waiting for cleanup.
From text
Concept to printable starting point
Describe the object, intended scale, pose, and print constraints in one prompt. The generated mesh is useful for exploring form quickly, then you can correct thin areas, joins, and hidden surfaces before exporting to your slicer.
- State the intended print size and use case
- Ask for a stable base or separated parts
- Treat the first mesh as a design draft
From image
Reference image to physical object
Use a clear reference image when silhouette matters more than exact dimensions. Front or three-quarter views with a simple background generally make it easier to judge the resulting shape and decide what needs remodeling.
- Prefer one subject with visible contours
- Mention which details must remain recognizable
- Check depth and underside geometry manually
From mesh
Rough asset to print candidate
Start with an existing mesh when you need a fast variation, themed accessory, or replacement concept. Before printing, inspect wall thickness, watertightness, disconnected shells, and any textures or colors that will not survive a single-material process.
- Remove non-printing scene elements
- Unify or separate shells deliberately
- Export and repair in your normal 3D tool
Set expectations
Where Meshy fits
Think of generated geometry as an accelerator for ideation and blocking, not as a substitute for print preparation or engineering review.
| AI-generated starting mesh | Print-ready final model | |
|---|---|---|
| Primary purpose | Explore form, style, and proportions quickly | Produce a dependable physical object |
| Typical input | Text prompt, image, or rough concept | Measured requirements and validated geometry |
| Geometry review | May contain thin walls, gaps, or merged details | Checked for manifold geometry and adequate thickness |
| Scale | Often needs deliberate resizing | Set to a confirmed real-world dimension |
| Surface detail | Strong for visual detail and decorative ideas | Simplified where detail cannot resolve at print scale |
| Supports and orientation | Not reliably optimized for a specific printer | Chosen in the slicer for strength and finish |
| Best use | Concepts, miniatures, props, and personalization | Final fabrication, testing, and repeatable production |
Use a handoff
Before and after
A clean handoff separates creative generation from the checks that make a physical result more predictable.
-
1
Before: define the print
Choose the material, target dimensions, printer process, and whether the object must be decorative, articulated, load-bearing, or easy to support.
-
2
During: generate and inspect
Create a few candidates, select the clearest silhouette, then inspect openings, joints, bases, thin features, and intersections in a mesh editor.
-
3
After: prepare the file
Scale the model, repair or remesh problem areas, orient it, add supports where needed, slice it, and run a small test before committing to a long print.
Plan a test batch
Deliverable spec
Use this lightweight planning estimate to reserve review time for a batch of generated candidates. It describes your workload, not a guaranteed generation or print time.
Models in review batch
models
Review time estimate
minutes
Start with intent
Deliverable spec examples
These prompt patterns emphasize physical use, which makes the first review more focused than a purely visual description.
-
1 prompt, verbatim
A stylized low-poly fox figurine, four sturdy legs, compact tail, flat oval base, collectible tabletop 3D printText to 3D Check base contact · inspect tail thickness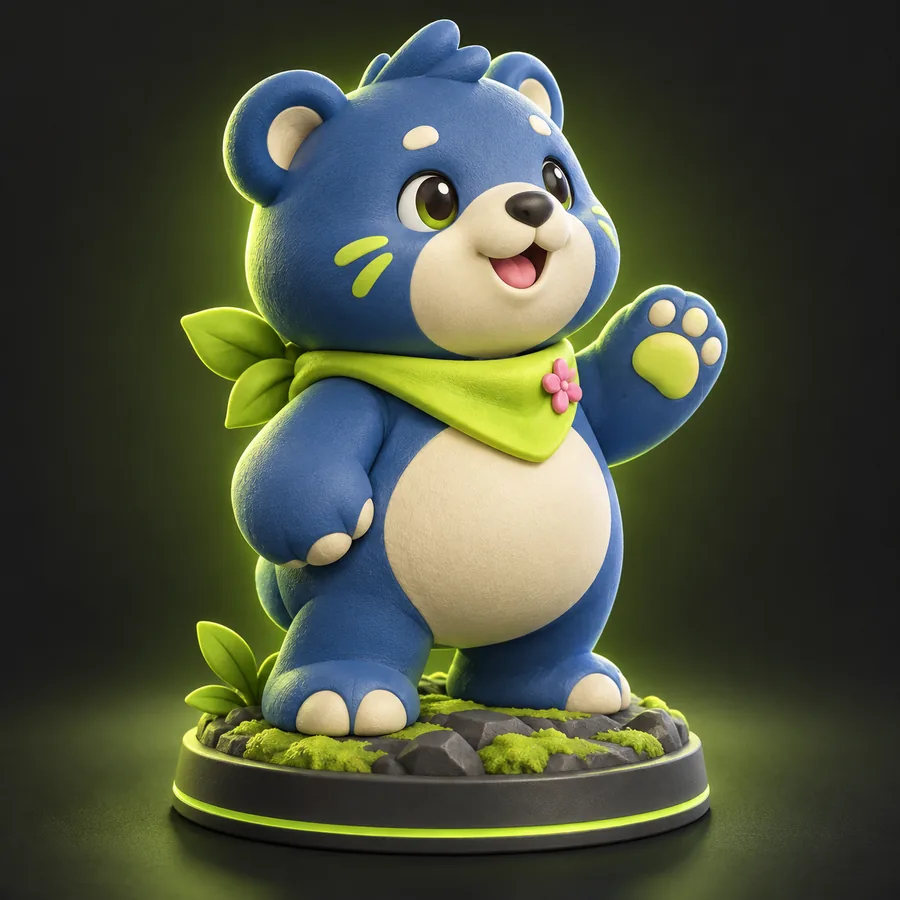 Figurine
result
Figurine
result
-
2 prompt, verbatim
A tiny astronaut keepsake standing on a round integrated base, chunky proportions, simple helmet, separated raised details for printingText to 3D Check raised details · test small scale Keepsake
result
Keepsake
result
-
3 prompt, verbatim
A miniature forest shrine with thick posts, solid steps, a shallow roof, and simplified carved details for FDM tabletop printingText to 3D Check roof overhangs · orient for supports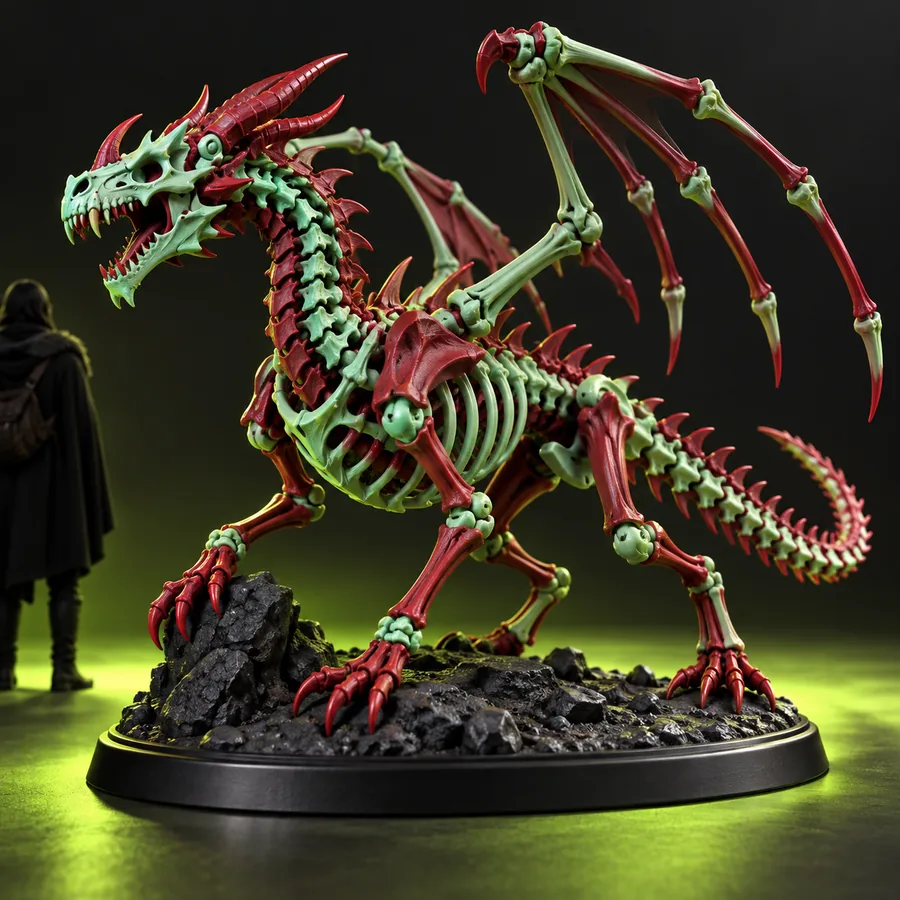 Miniature
result
Miniature
result
Adapt each prompt by adding dimensions, material, assembly needs, and the details that must remain visible after printing.
Make the handoff
Turn a concept into a print test
Use Meshy to explore the object, then bring the strongest candidate into your normal modeling and slicing workflow. A short inspection pass can reveal whether the idea is ready for a test print or needs another generation round.
- Describe the intended physical use
- Inspect geometry before export
- Test small before scaling up
Scenario FAQ
Scenario FAQ
A practical answer depends on what you are printing and how much preparation you expect the tool to handle.
It can be good for creating printable starting points, especially for figurines, props, decorative objects, and personalized concepts. It should not be treated as automatically print-ready: inspect the mesh, set scale, repair errors, and validate it in your slicer before printing.
It may produce a model that is close to usable, but direct printing is not guaranteed. Check for watertight geometry, thin walls, disconnected parts, trapped interiors, and overhangs, then export and slice the file using your normal preparation process.
Simple figurines, ornaments, tabletop props, keepsakes, and stylized objects are usually easier to evaluate than precision parts. Designs with clear silhouettes, thicker features, and modest mechanical requirements give you a more forgiving starting point.
Confirm the final dimensions first, then inspect the base, joints, walls, holes, and small details at the intended scale. Repair or remodel weak areas, choose a print orientation, add supports where necessary, and run a small test print before making the full object.