Indie game creator
You need a believable prop or character concept before committing to a full production model.
Generate several directions quickly, then select one for retopology, rigging, materials, or hand refinement.
3D modeling guide
If you are asking whether meshy ai good for 3d modeling, the useful answer depends on the job. It can shorten the path from an idea or reference to a workable starting mesh, but it does not remove the need for review, cleanup, and production decisions.
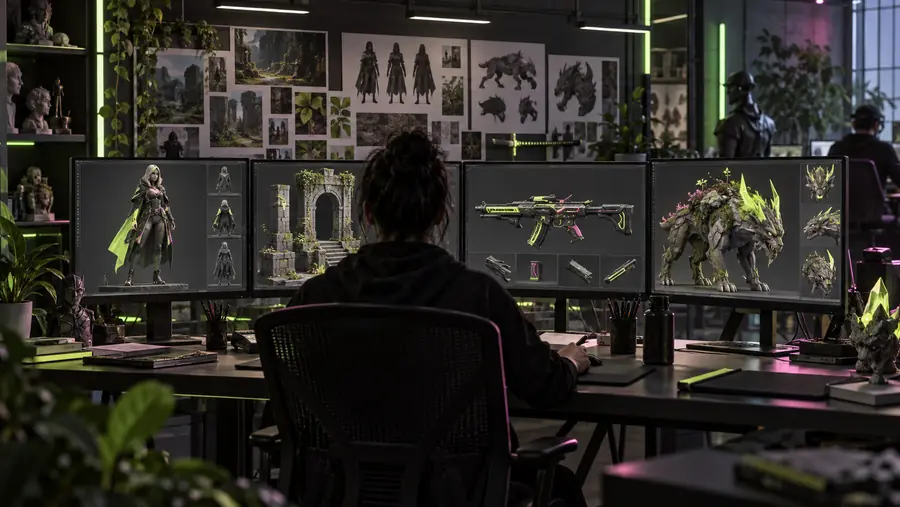
Start with the job
AI-assisted modeling is most useful when it removes repetitive early-stage work without hiding the decisions that still require a human eye.
You need a believable prop or character concept before committing to a full production model.
Generate several directions quickly, then select one for retopology, rigging, materials, or hand refinement.
A sketch or written brief needs to become a spatial reference that can be discussed with a team.
Use a rough 3D form to test proportions, silhouette, and presentation before detailed CAD or sculpting.
You want students to move from an idea to a visible object without spending the whole lesson on basic mesh construction.
Turn prompts into discussion points for topology, scale, materials, and the difference between a concept asset and a finished model.
A personalized object needs a visual starting point before it is checked for thickness, supports, and printability.
Use the generated form as a prototype, then validate geometry in a dedicated slicer or modeling application.
Visual checkpoint
The strongest use of an AI-generated mesh is usually as a reviewed starting point rather than a final asset accepted without inspection.
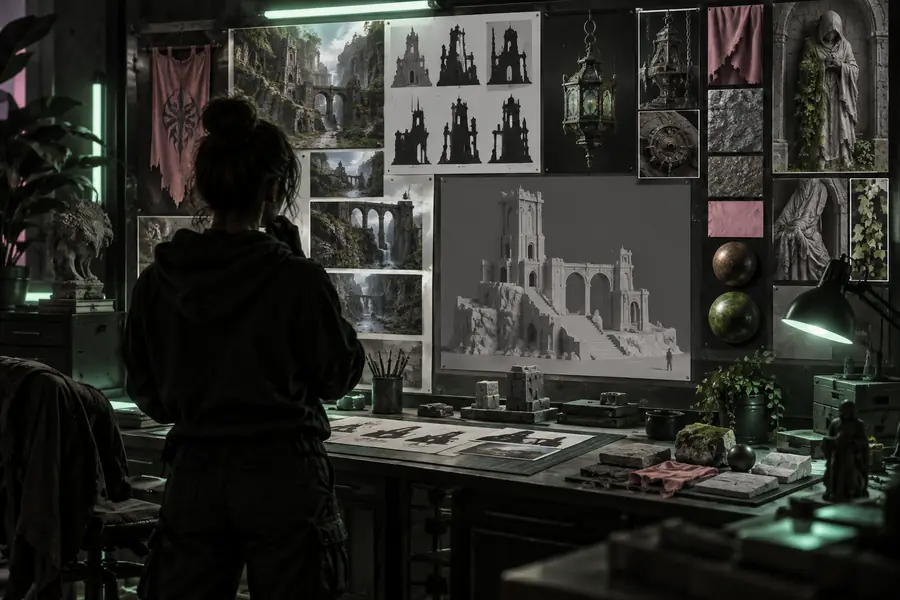
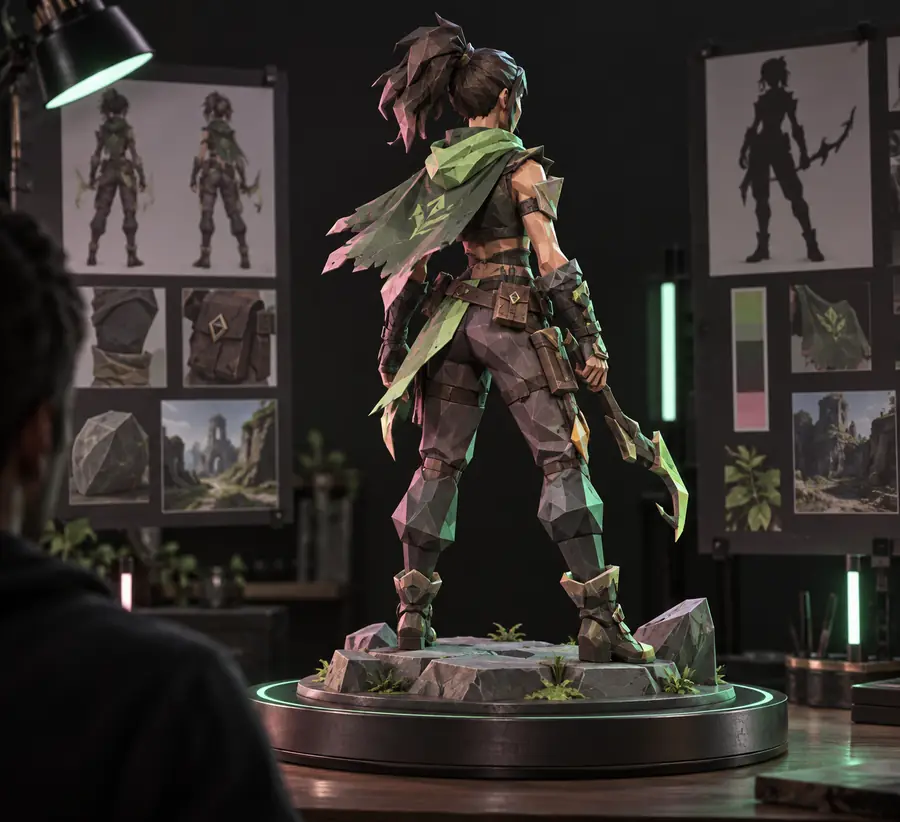
The visual change represents a modeling workflow, not a guarantee of automatic production readiness.
Brief or referenceReviewed model directionUse it deliberately
Choose the workflow that matches your starting material. In every case, inspect the result before using it in a scene, pipeline, or physical output.

Describe the object, its proportions, its style, and the intended use. Generate more than one direction when the silhouette matters, then keep the strongest result as a concept mesh for further modeling.
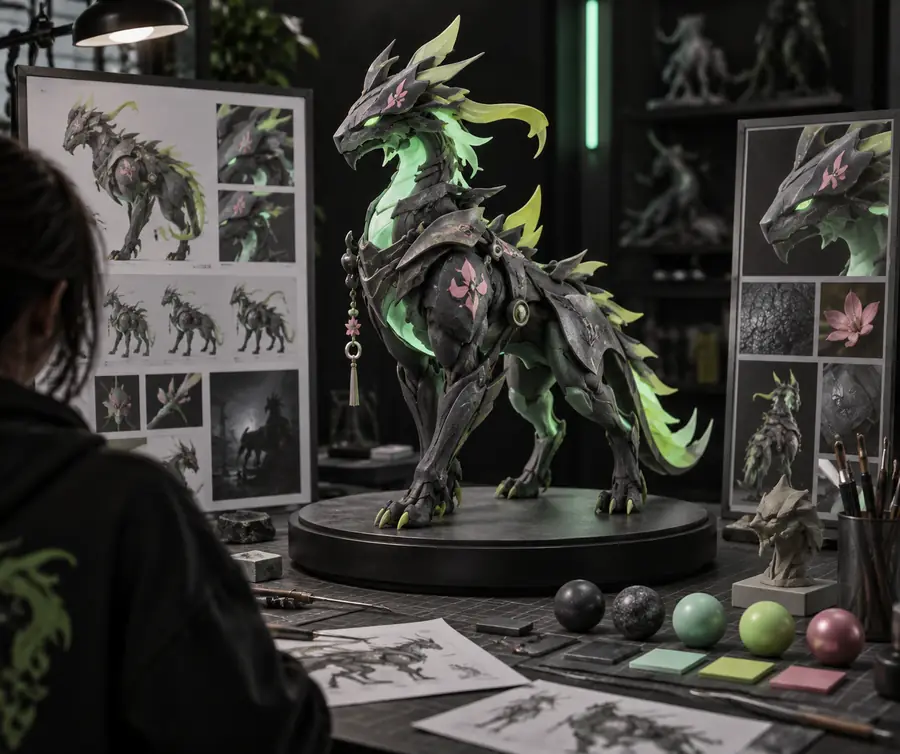
Start with a clear image when the subject is easier to show than to describe. Treat the output as an interpretation of the visible view, especially when hidden surfaces, exact dimensions, or mechanical accuracy matter.
Once the form is promising, move into cleanup. Review topology, scale, normals, intersections, texture placement, and naming before handing the asset to animation, rendering, a game engine, or a print process.
Example output
A useful result gives you something concrete to evaluate: a recognizable form, a workable silhouette, and enough visual information to decide what should happen next.
Name the subject, silhouette, proportions, style, and important visual features instead of relying on a vague one-line idea.
Look for missing surfaces, awkward joins, distorted details, and shapes that only work from one camera angle.
Retopologize, remodel, texture, rig, scale, or repair the asset according to its actual destination.
Production judgment
A model can be visually convincing and still need technical or legal review before it becomes part of a shipped project.
Use AI generation to accelerate exploration, not to skip responsibility. Confirm that you have permission to use uploaded references, avoid reproducing protected characters or branded designs without authorization, and document where the asset came from. For production, inspect geometry and textures in the destination application, test the model under the real camera or deformation conditions, and keep a human approval step before release.
Scenario FAQ
It can be useful for turning a prompt or reference into an early 3D concept, especially when speed and exploration matter. It is less suitable as a substitute for careful modeling when you need exact dimensions, clean topology, predictable deformation, or complete control over every surface.
It is well suited to concept development, visual prototyping, rough props, character directions, and personalized objects that will receive human cleanup. The more exact the geometry or downstream requirements, the more review and manual refinement the result needs.
Sometimes a model may be a useful starting asset, but direct use should not be assumed. Check topology, polycount, materials, UVs, scale, naming, and deformation behavior in the actual pipeline before treating it as production-ready.
It can help communicate form and explore proportions during early design conversations. It should not be treated as a source of engineering accuracy unless the geometry is rebuilt or verified with the appropriate professional tools and measurements.
Inspect the object from every important angle and look for holes, floating parts, intersections, uneven detail, and implausible hidden geometry. Then verify the technical requirements of the destination, whether that is rendering, animation, game development, or 3D printing.