Game artist
Create a stylized hero prop or creature from a short art direction brief.
A readable blockout with a distinct silhouette that can guide modeling, texturing, or level dressing.
Prompt to model
Meshy examples are most useful when they show the complete path from a clear prompt to a usable 3D asset. Browse practical starting points, compare outcomes, and adapt a prompt for your own project.
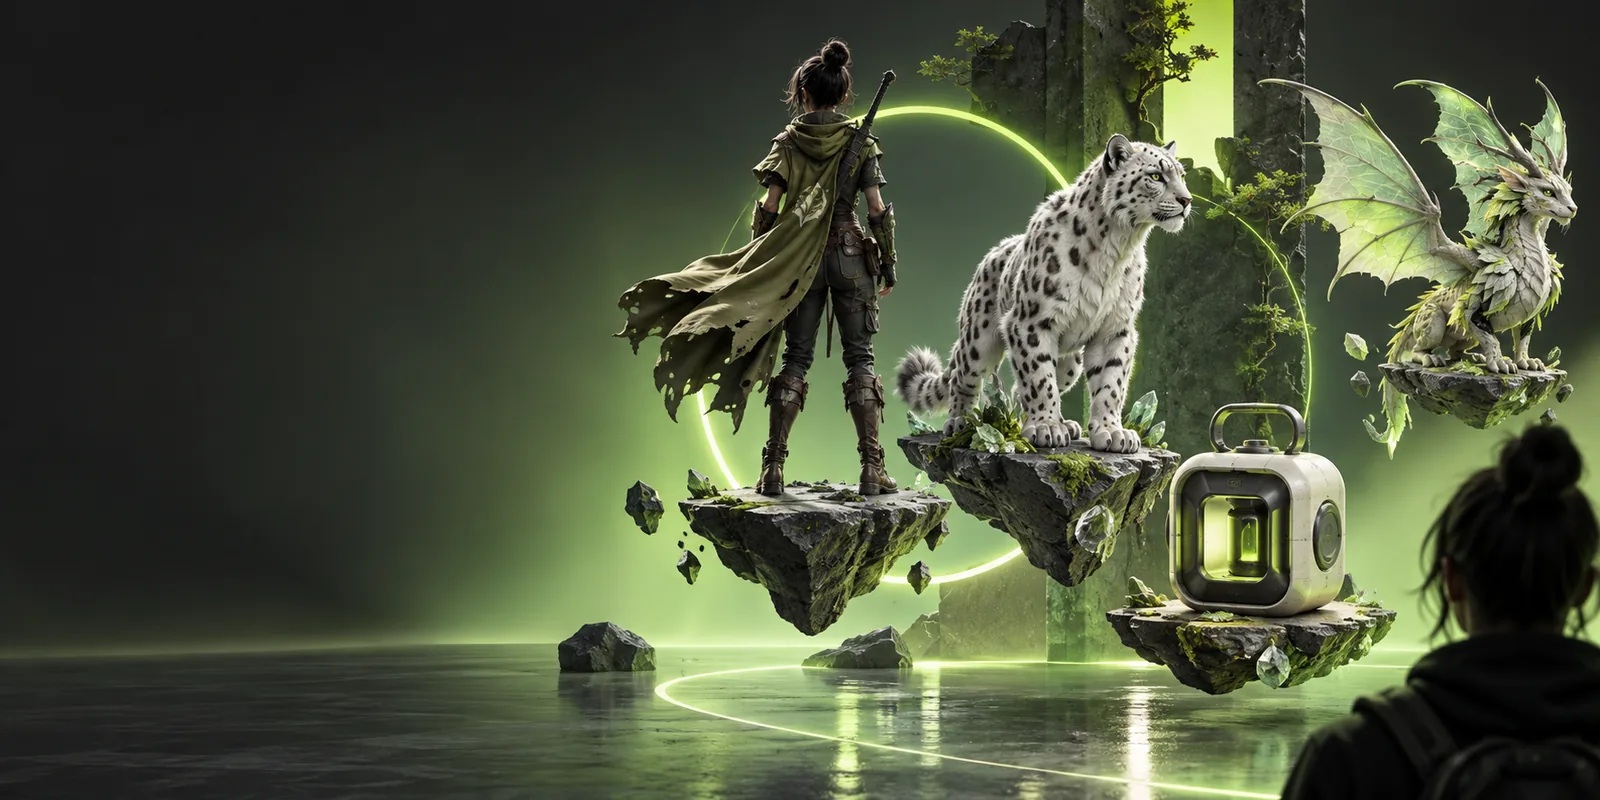
Start with a use case
A useful example should make the intended object obvious, show enough surface detail to judge the result, and leave you with a practical next step.
Create a stylized hero prop or creature from a short art direction brief.
A readable blockout with a distinct silhouette that can guide modeling, texturing, or level dressing.
Turn an idea for a game-ready object into a fast visual prototype.
A concrete asset reference for testing scale, mood, composition, and iteration before production.
Describe a keepsake, toy, figurine, or small decorative object.
A model that can be inspected for closed surfaces, thin parts, and the changes needed before slicing.
Explore several visual directions without building every option manually.
A small set of distinct forms that helps a client or team choose a direction with less ambiguity.
Prompt showcase
These prompt-led examples cover different asset types. Copy one, change the subject or style, and keep the structure that gives the description a clear visual direction.
A colorful stylized 3D fox character, oversized ears, friendly expression, clean forms, game-ready concept art
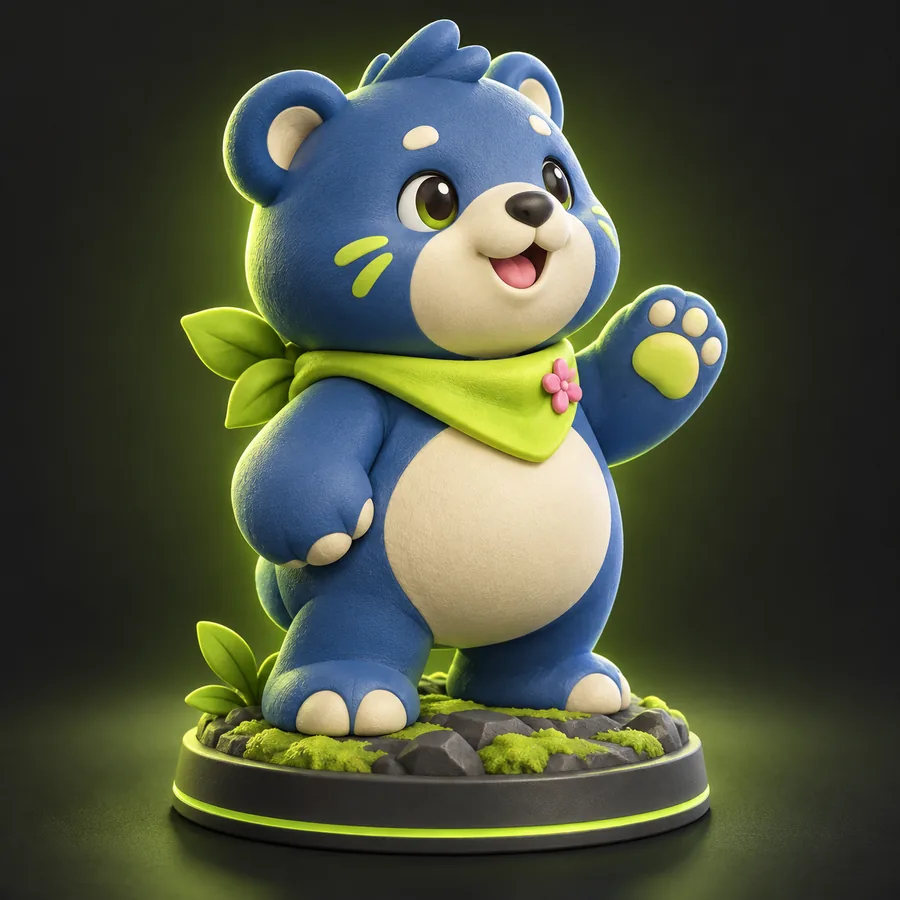 Character
result
Character
result
A tiny astronaut in a rounded spacesuit, compact backpack, expressive helmet, collectible toy proportions
 Figure
result
Figure
result
A low-poly fantasy creature with layered plates, curled horns, sturdy feet, and a bold readable silhouette
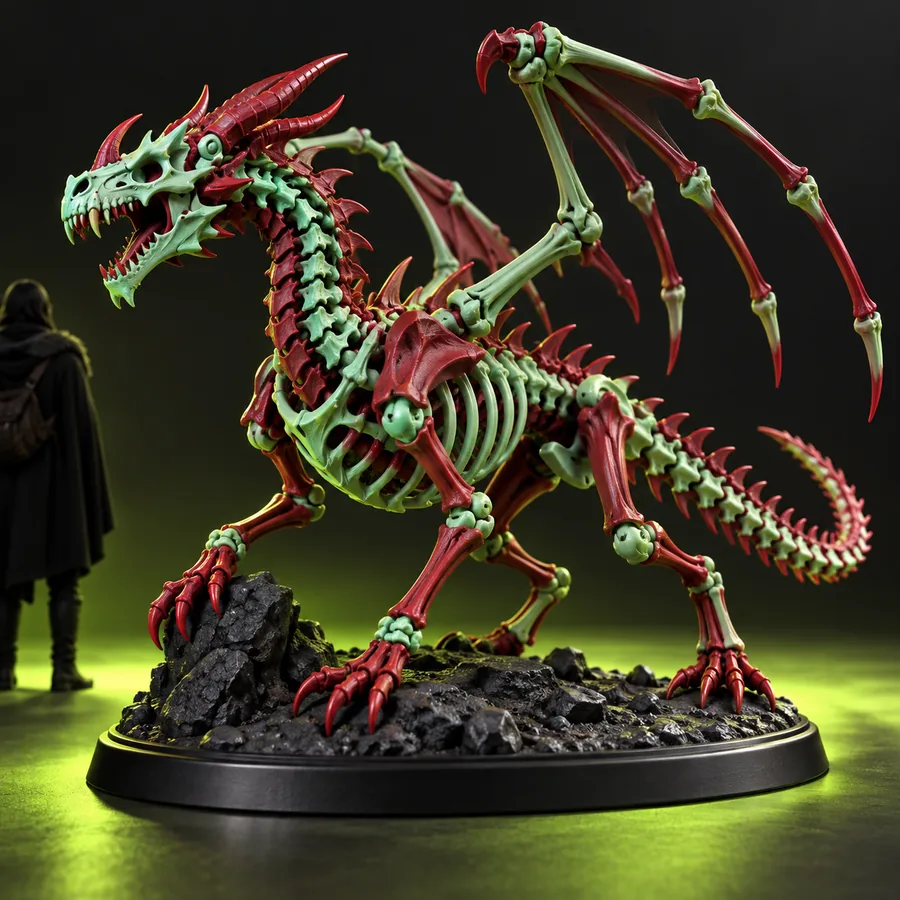 Creature
result
Creature
result
A small forest shrine with carved wood, mossy stones, warm lanterns, and a quiet enchanted atmosphere
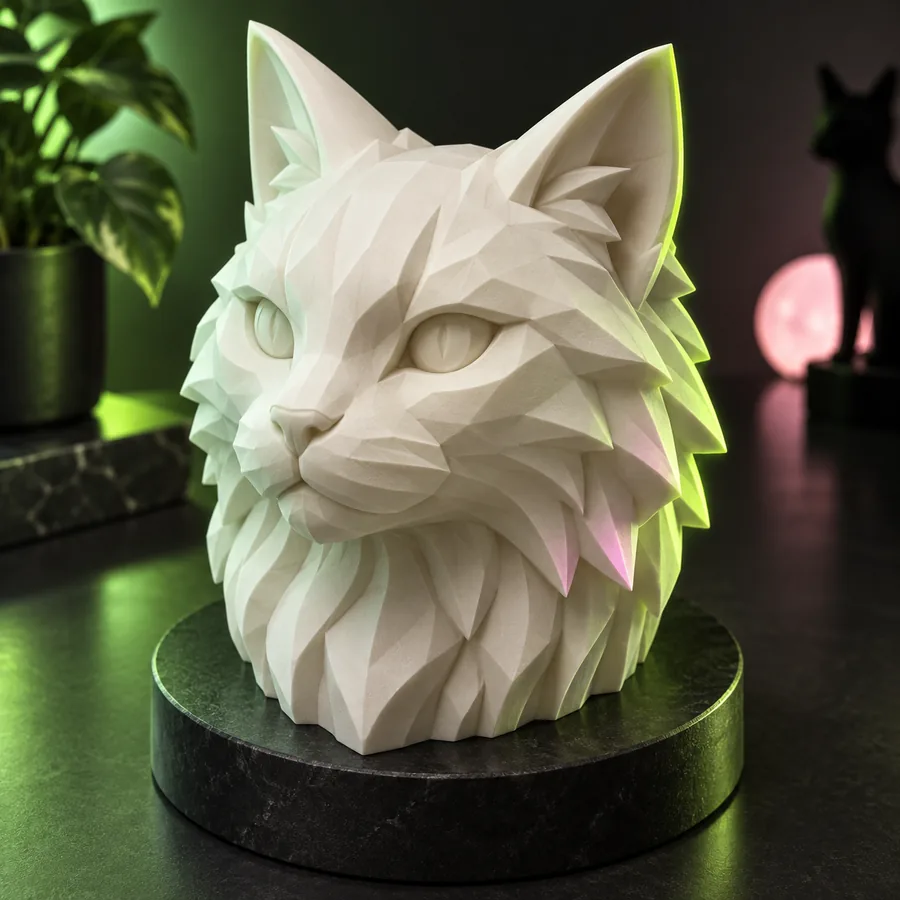 Prop
result
Prop
result
For a stronger variation, change one variable at a time: silhouette, material, scale, pose, or setting.
Repeatable process
Use a simple workflow for every asset: define the purpose, inspect the form, then decide whether the result is ready for refinement or needs another pass.
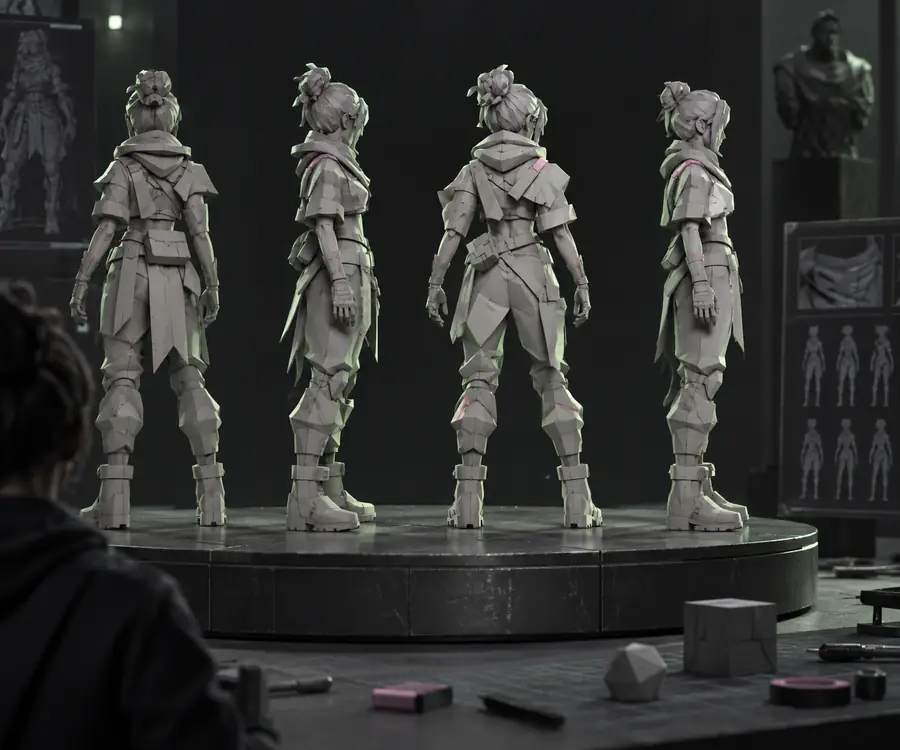
Write the subject, style, proportions, and intended use before generating. The first result is successful when its silhouette and main parts are recognizable without explanation.
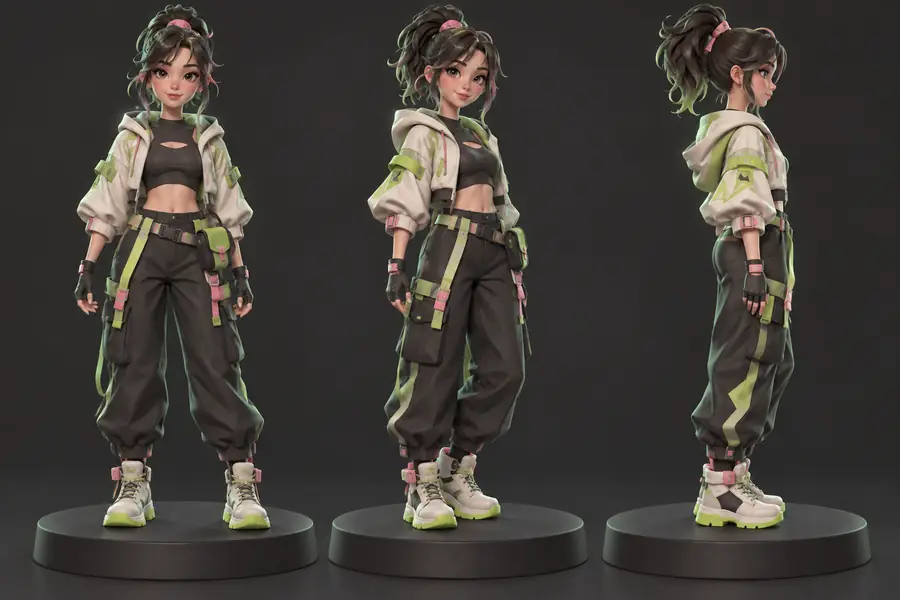
Keep character prompts focused on anatomy, pose, clothing, and personality. A clean reference is more valuable than a crowded description with details that compete for attention.
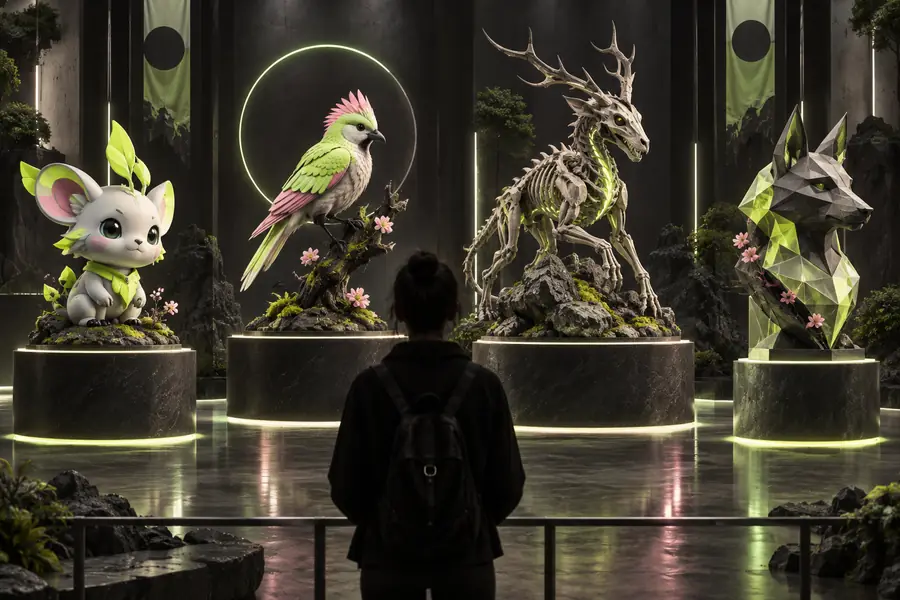
Treat a generated object as a starting point for fabrication. Inspect wall thickness, unsupported details, disconnected parts, and the base before preparing a final printable file.
Output gallery
The best examples are honest about the work that follows generation. These outputs show the kind of result to study, while the caption identifies the input direction behind each one.
Refine pose
Check details
Inspect topology
Simplify scene
A practical progression
A reliable asset workflow usually evolves through the same sequence: broad idea first, visible structure next, and production checks only after the direction is clear.
A prop for a game, a reference for a character, and a printable keepsake need different choices. Start by saying where the object will be used.
The subject, silhouette, proportions, and style should carry the first prompt. Materials and small decorations work better after the main shape is established.
Look for recognizable structure rather than perfection. Keep the direction with the clearest read, then adjust one variable instead of rewriting everything.
Common revisions include hands, thin accessories, crowded surfaces, unstable bases, and details that merge into the surrounding mesh.
Once the form is useful, continue in the toolchain that matches the goal: modeling and rigging for interactive work, or mesh checks and slicing for physical output.
Make your own
Choose the example closest to your idea, copy its prompt structure, and replace the subject, style, or setting. A focused first pass gives you something concrete to evaluate and improve.
Scenario FAQ
Answers to the practical questions people ask when comparing example 3D models and deciding which workflow to try first.
You can start with the example gallery on this page to compare characters, props, creatures, and small scenes. Use each input description as a prompt template, then adapt the subject and style to your own project.
A useful example makes its subject, silhouette, and intended use easy to understand. It should also reveal what needs checking next, such as proportions, thin parts, disconnected geometry, or excessive surface detail.
They can serve as concept references, blockouts, or starting points for further modeling and optimization. Before using an asset in a game, review topology, materials, scale, rigging needs, and the technical requirements of your engine.
Some outputs may be useful starting points, but generation alone does not guarantee print readiness. Check for a stable base, closed geometry, suitable wall thickness, connected parts, and unsupported details before slicing.
Identify the single most visible problem and revise that part of the prompt first. Specify the missing shape, pose, proportion, or material in plain language, while removing unrelated details that may distract the model.