3D workflow guide
how to use meshy ai for your first 3D model
This guide explains how to use meshy ai from the first idea to a cleaner 3D result. Follow the workflow in order, check the model before export, and treat the first generation as a draft rather than a finished asset.
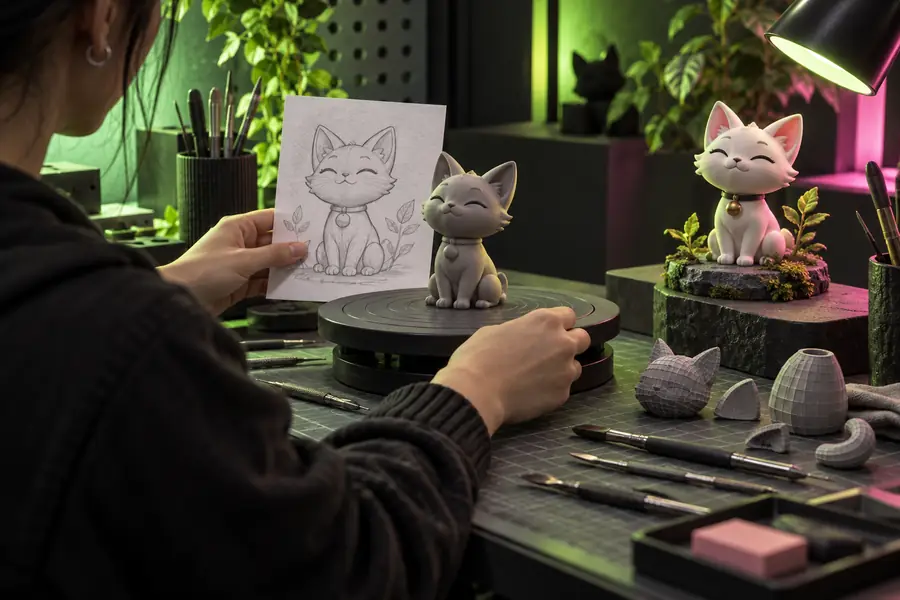
At a glance
- PromptA specific prompt with shape, style, materials, and use case gives the generator clearer direction.
- InputA reference image can establish silhouette and visual language, but it does not guarantee a production-ready mesh.
- QualityThree checks matter before export: silhouette, surface detail, and mesh suitability for the intended use.
- Reality checkA first pass is usually a starting point, so plan time for revisions, cleanup, or manual edits.
Numbered steps
The basic workflow is simple: define the object, inspect the result, then improve the parts that matter for your project.
-
1
Describe one clear object
Start with a single subject and include its form, style, materials, proportions, and intended use. Avoid combining unrelated objects until the first result has the right silhouette.
-
2
Generate and inspect the draft
Review the model from several angles. Look for missing features, awkward intersections, thin parts, unclear materials, and details that do not support the original prompt.
-
3
Refine, prepare, and export
Adjust the prompt or reference when the direction is wrong, then check scale, topology, texture behavior, and file settings before taking the model into your next tool.
Prerequisites
You do not need advanced 3D experience, but a few decisions before generation make the process more predictable.
-
A clear subject with one primary form, such as a prop, creature, character, room object, or environment piece. — Keep the first request focused.
-
A written description that names the visual style, important features, materials, and approximate proportions. — Concrete nouns work better than broad adjectives alone.
-
A reference image when silhouette, pose, color separation, or a particular design language matters.optional — Use an image you have permission to use.
-
A destination for the result, such as a game engine, design mockup, animation package, or 3D print workflow. — The destination determines what you inspect later.
-
A short quality checklist covering shape, detail, scale, and file compatibility.optional — Write it before you begin comparing versions.
- how to use meshy for free Use the free workflow guide to plan your generations around available access and avoid wasting early attempts.
- how to use meshy ai for 3d printing Follow the printing-focused route when wall thickness, supports, manifold geometry, and physical scale matter most.
- meshy examples Browse example directions to see how prompts can change the model's style, materials, and intended use.
Common errors and fixes
Generated 3D content can look convincing in one view while failing a practical check. Use these limitations as a review list rather than treating them as unexpected defects.
The mesh may not match every detail
Small features, repeated parts, thin accessories, and complex intersections can be simplified, merged, or misplaced.
What to do instead
Describe the highest-priority features first, generate a simpler base, and plan manual cleanup for details that affect the final result.
Textures are not the same as geometry
A surface may appear detailed because of color or texture while the underlying shape remains relatively simple.
What to do instead
Inspect the silhouette and surface depth separately, especially when the asset will be viewed close up or modified later.
A pretty model may not be production-ready
The result can need retopology, UV work, material adjustment, rigging, scale correction, or repair before use in a pipeline.
What to do instead
Choose the destination before export and test the asset in that environment instead of judging it only in the preview.
Prompt changes can have side effects
Adding one requested feature may alter the proportions, pose, materials, or overall style of the model.
What to do instead
Change one major variable at a time and compare versions against the same checklist.
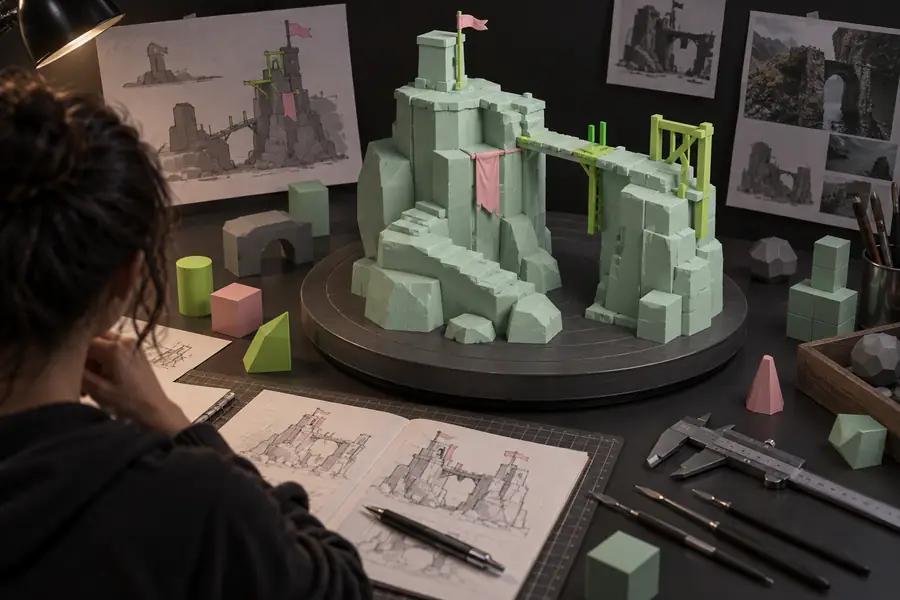
First draft
Use the divider as a reminder to compare silhouette and surface detail separately; a more polished image does not automatically mean a cleaner mesh.
Reviewed direction
How the workflow develops
Treat each pass as a dated checkpoint. This makes improvement visible and prevents endless prompt changes without a clear reason.
-
Define the brief
Write down the subject, purpose, visual direction, and three features that cannot be lost.
-
Create the first pass
Use one focused prompt or reference image and save the result as a baseline for comparison.
-
Review from multiple views
Check silhouette, proportions, hidden intersections, surface detail, and any features that disappeared during generation.
-
Make one controlled revision
Change the weakest part of the prompt or reference while keeping the successful parts stable.
-
Validate the destination
Open the chosen version in the next tool or workflow and confirm that scale, materials, geometry, and file behavior are acceptable.
Advanced tips
The same process works for different goals, but each audience should emphasize a different kind of review.
Game assets
Optimize for silhouette and reuse
For a game asset, a readable silhouette and consistent proportions usually matter more than adding every possible surface detail. Decide whether the model is a hero asset, background prop, or blockout before refining it.
- Use a short style direction that matches the rest of the game.
- Check the asset at the camera distance where it will appear.
- Plan separate work for topology, UVs, materials, and rigging when needed.
Design concepts
Optimize for visual communication
For concept work, prioritize shape language, material contrast, and the parts that communicate the idea quickly. You can accept rougher technical structure when the model is being used to explore direction rather than ship.
- Name the focal feature near the beginning of the prompt.
- Use references to anchor mood, proportions, or construction.
- Save alternative versions instead of overwriting the strongest draft.
3D printing
Optimize for physical inspection
For a physical object, review it as a solid rather than only as an image. Check for fragile parts, unsupported forms, trapped spaces, scale problems, and geometry that may need repair before slicing.
- Choose a size and material before judging thin features.
- Inspect the underside and hidden surfaces carefully.
- Use the dedicated printing workflow when physical output is the main goal.
Start with one specific subject, describe the features that matter, and use the first result to guide a controlled revision. The fastest route is usually a focused prompt followed by a practical inspection.
Turn your idea into a workable 3D draft
- Begin with a clear object
- Compare each revision against the same checklist
- Review the destination before export
Tutorial FAQ
These answers cover the basic questions people ask when starting the workflow.
Start with a text description or a suitable reference image, then generate a first 3D result. Review the shape from multiple angles, revise the input when necessary, and export only after checking the model against its intended use.
Name one main subject, then describe its shape, style, materials, important features, and approximate proportions. If the result will serve a specific purpose, such as a game prop or physical object, include that context so your review criteria are clear.
Yes, beginners can use the workflow to create a starting model from a description or image. The important beginner habit is to treat the output as a draft and learn to inspect silhouette, surfaces, scale, and file behavior before relying on it.
First identify whether the problem is the subject, silhouette, missing feature, material direction, or technical quality. Change one major input at a time, keep the successful parts of the prompt, and compare the new result with the original checklist.
Check the model from several angles, confirm that important parts are present, and verify scale, surface behavior, geometry, and compatibility with the next tool. If the model is for printing or production, allow time for repair or manual cleanup.